
Setting up your scheduling and calendar in CaseRM lays the foundation for a smooth-running operation. It doesn’t matter whether you’re booking appointments for providers, reserving rooms, or managing equipment. Well-organized calendars keep your scheduling on track and make day-to-day coordination much easier.
Switch between Day, Week, and Month views in CaseRM to zoom in on the details of your day or zoom out to see the bigger picture.
In this guide, you’ll learn how to:
- Create and manage calendars
- Set up shifts and sessions
- Configure notifications
We’ll keep it simple so your team can get up and running quickly. Let’s get started!
Before proceeding with the steps below, navigate to Calendar > Settings > Calendars to access the area where calendars are managed.
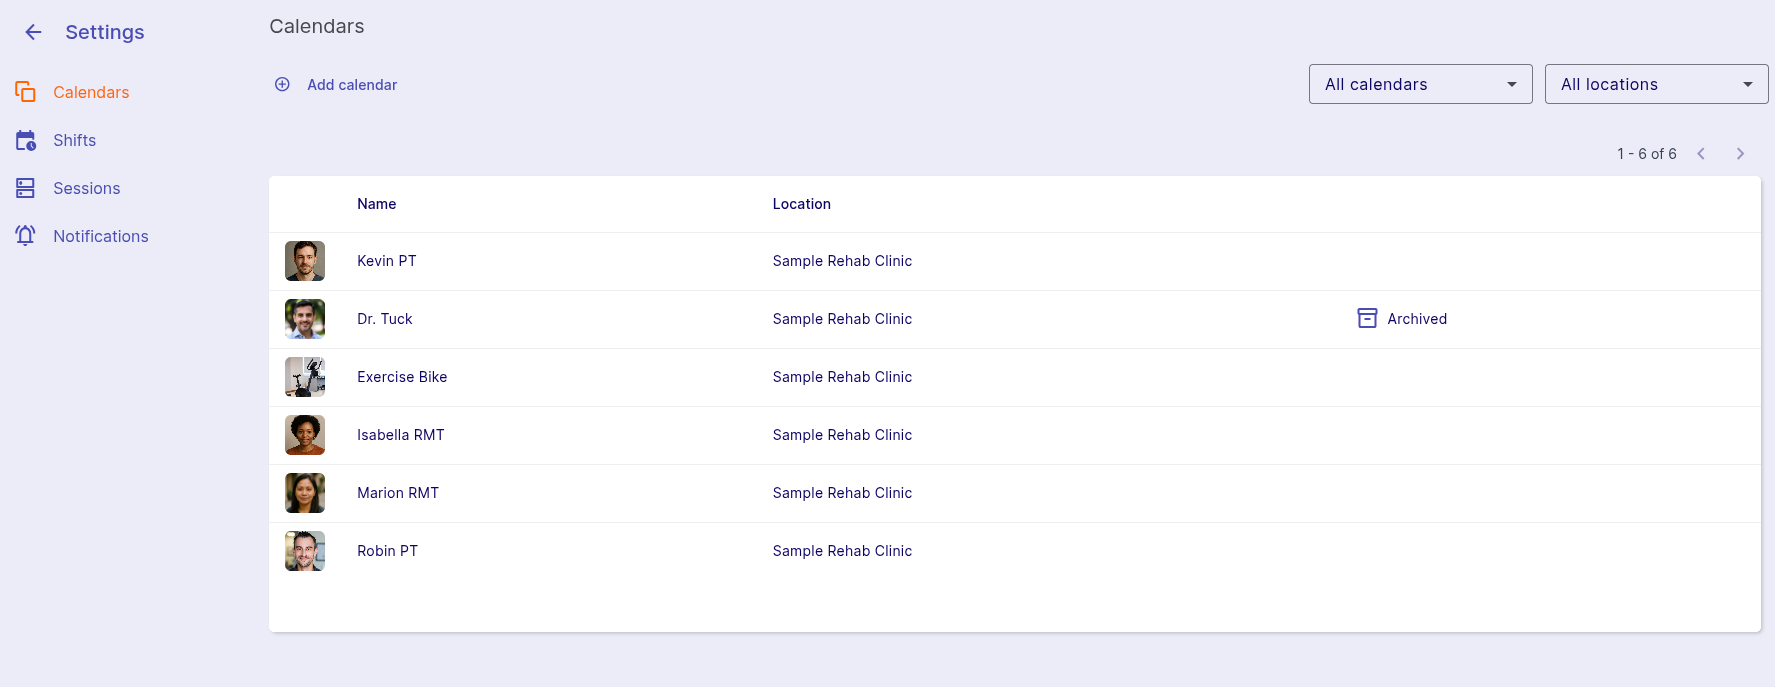
Create a New Calendar
- Click Add calendar.
- (Optional) To connect the calendar to a team member:
- Click Connect to team member.
- Select a team member from the list.
Tip: Skip this step when creating a calendar for a room or equipment.
- Enter a Calendar Name.
- (Optional) To enable online booking:
- Toggle Enable for online booking ON.
- Verify that the Online booking name appears as you want it displayed on your booking page.
- Select the Location this calendar belongs to.
- Choose the Calendar Type:
- Individual
- Room
- Equipment
- Specify the Disciplines the calendar will support.
Edit a Calendar
- In the calendar list, select the calendar you want to edit.
- Click Options > Edit.
- Update the calendar details as needed.
- Click Save to apply your changes.
Delete a Calendar
- In the list of calendars, select an archived calendar.
- Click Options > Delete.
- In the confirmation prompt, click Delete to confirm.
Archive and Unarchive Calendar
To Archive a Calendar:
- From the list, select an active calendar.
- Click Options > Archive.
- In the confirmation prompt, click Archive to confirm.
To Unarchive a Calendar:
- Open an archived calendar.
- Click Options > Unarchive.